How to Set Up a Node.js Project
In this blog, we'll discuss the following concepts related to setting up a Node.js project:
- Introduction to Node.js
- Installing Node.js
- Initializing the Node.js Project
- Installing Dependencies
- Creating a Project Structure
- Configuring Environment Variable
- Creating a Node Server
- Adding Scripts to package.json
- Running Node Application
- Set Up Version Control (Git)
- Purpose of .gitignore in Git
Introduction to Node.js
Node is a JavaScript runtime environment built on the V8 JavaScript engine. The V8 engine is responsible for compiling JS code to machine code, enabling the execution of JS code outside the browser.
Additionally, Node.js provides essential libraries for building server-side applications (such as libuv, file system access, networking, etc.).
Installing Node.js
Go to the Node download page to download and install Node on your device. It provides a UI that lets you select the Node version you want to download, the platform on which you want to install the service, as well as the version (such as NVM) and package manager (such as NPM, PNPM).
Initializing the Node.js Project
Navigate to the directory where you want to create a Node project and run the following commands:
cd Projects/

mkdir node-setup && cd node-setup
We've navigated to the Projects directory, created a new folder called node-setup and switched to our new project directory.
To initialize the project, run npm init or npm init -y. Running the init command creates a package.json file, which is used to manage project dependencies, scripts, and other metadata.
Installing Dependencies
To install dependencies, run:
npm install {{ package name }}
We will install dotenv, and Nodemon to set up our project.
npm install dotenv
Nodemon is a dependency used during the development process and is not required in the production environment. Therefore, we will install it using the --save-dev flag. Nodemon monitors file changes and automatically restarts the development server.
npm install nodemon --save-dev
Creating a Project Structure
While the structure of a project completely depends on the developer and the team, a good project structure helps with the project's maintainability. So, let's create a very basic project structure for our new application.
node-setup/
├── .env
├── src/
│ ├── index.js
└── .gitignore
└── package.json
└── package-lock.json
└── node_modules
Configuring Environment Variable
We will create a .env file and define configurations such as PORT and HOST there in our case.
HOST=localhost
PORT=3344
We will use dotenv to load environment variables from the .env file into process.env. The env file contains sensitive data such as tokens, API keys, and secrets, as well as configuration details such as the PORT number.
Therefore, the .env file should not be pushed to version control providers and should be added to .gitignore as soon as possible.
Reading sensitive data from the .env file and avoiding pushing tokens and keys are the first steps toward securing an application.
Creating a Node Server
As an example, we'll create a very basic Node server using the http module and run the server on a specific port.
import 'dotenv/config'
import { createServer } from 'http'

const hostname = process.env.HOST
const port = process.env.PORT

const server = createServer((req, res) => {
  res.statusCode = 200
  res.setHeader('Content-Type', 'text/plain')
  res.end('Hello World\n')
})

server.listen(port, hostname, () => {
  console.log(`Server running at http://${hostname}:${port}/`)
})
In the above code snippet, we import the http module and create a server using createServer() that listens for HTTP requests on the port specified as an environment variable.
Adding Scripts to package.json
At this point, if you try to run nodemon src/index.js to start the application, you'll encounter an error: command not found: nodemon.
This is because we've installed Nodemon as a development dependency for the project and have not installed it globally. You can run the Nodemon command through an NPM script or call it directly if it's installed globally.
To install Nodemon globally and use the command directly, run the following command:
npm install -g nodemon
Alternatively, you can configure a script in package.json to run Nodemon via NPM:
"scripts": {
  "dev": "nodemon src/index.js"
}
Running Node Application
Once we've added the above script, we can run npm run dev to start the development server.
npm run dev
Once your development server is up and running, you can visit http://localhost:{PORT} to see your app in action.
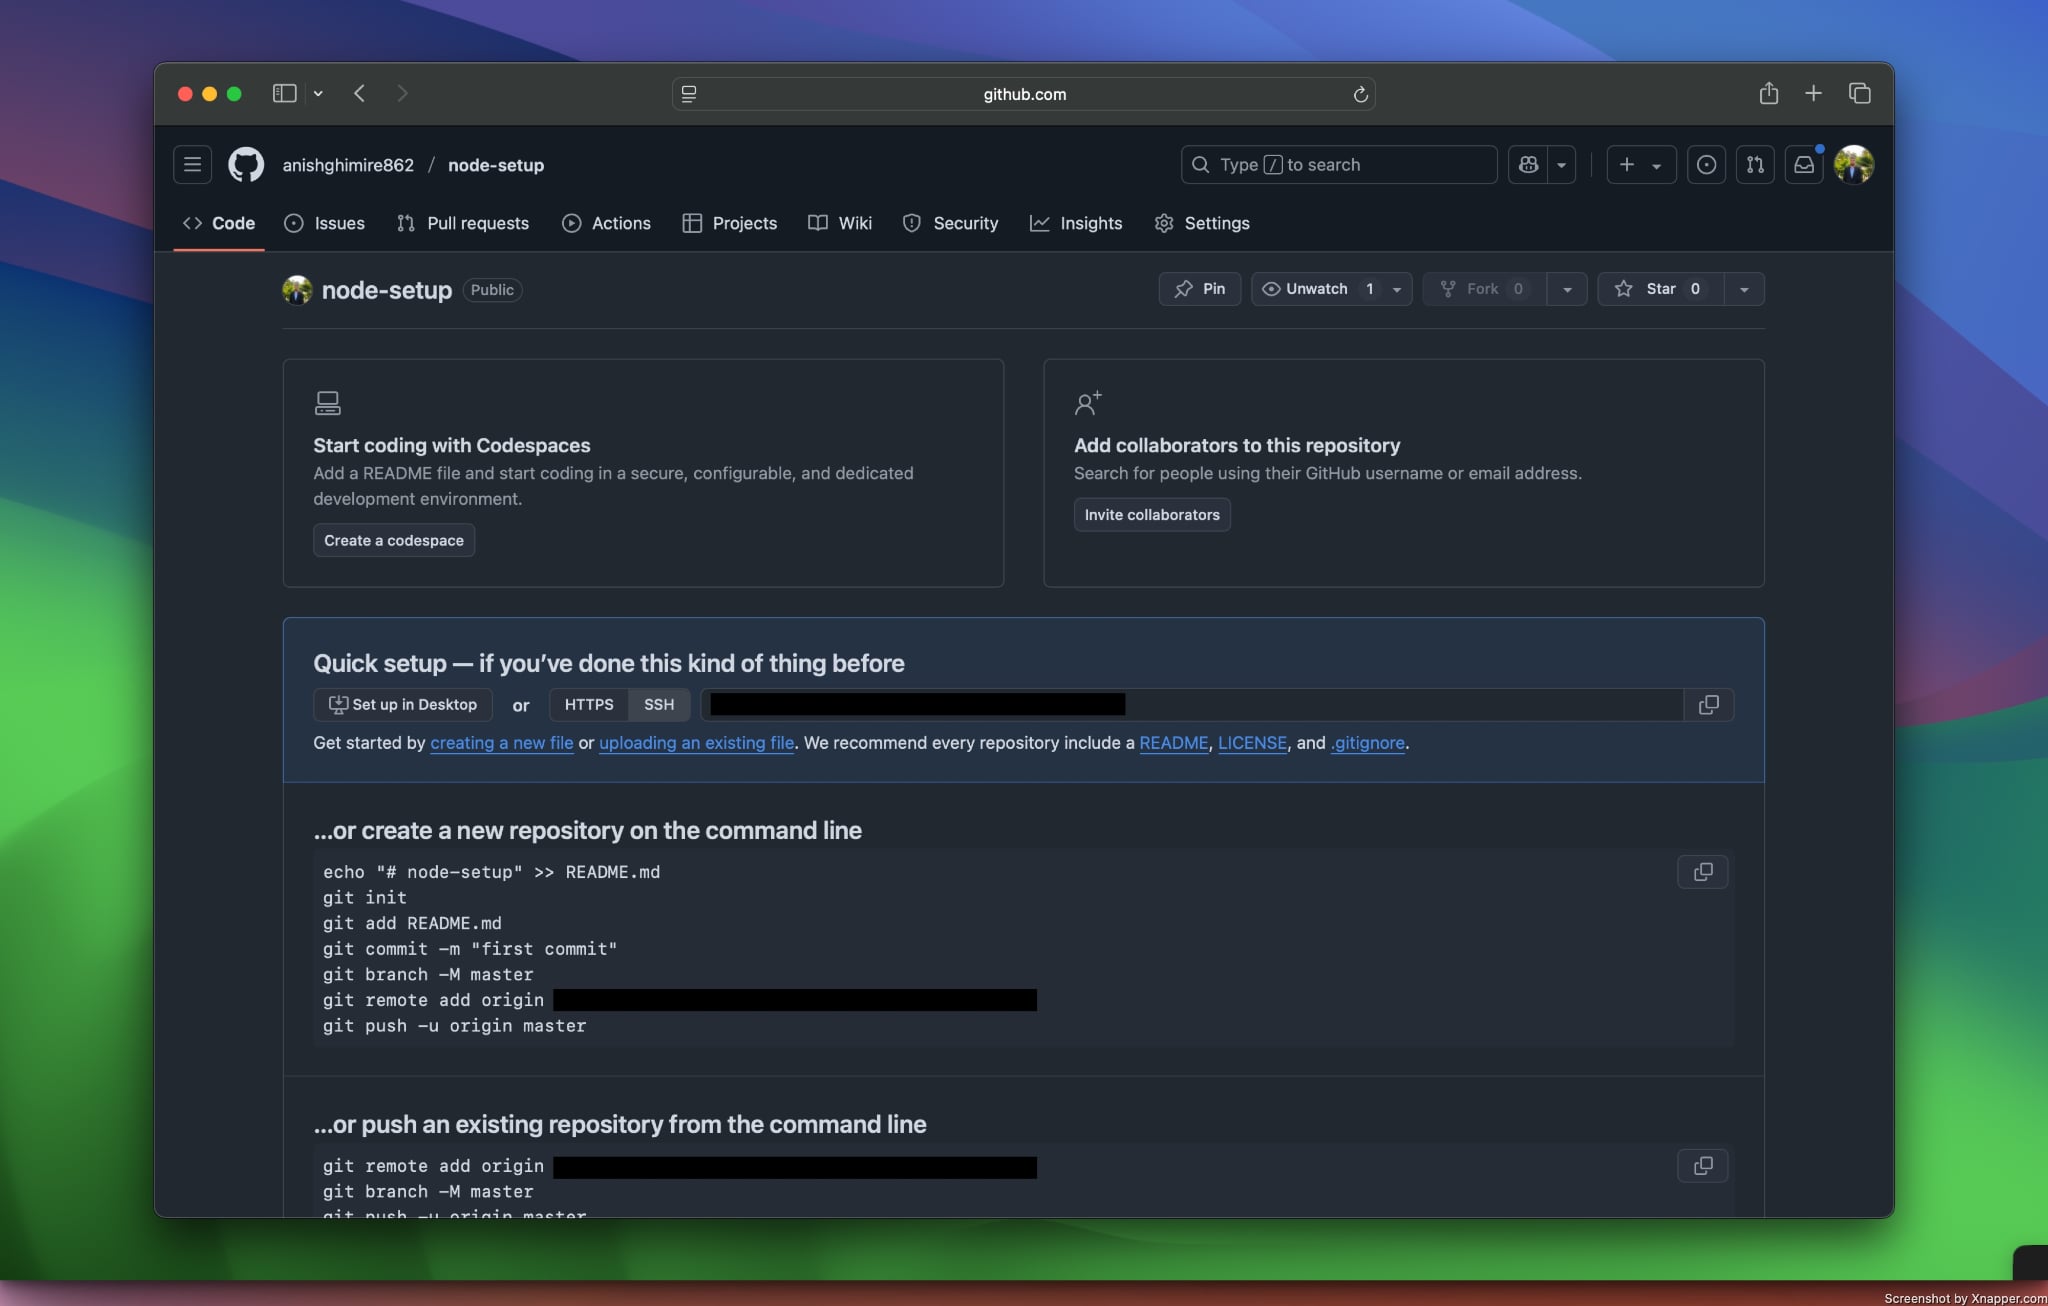
Set Up Version Control (Git)
We will not discuss Version Control and Git in depth here. Instead, we'll simply use GitHub to store the code of the application we just created in this blog.
Head over to GitHub and create a new repository.

Once the repository is created, navigate to your project directory and run the commands provided by GitHub.
git init

git remote add origin [email protected]:anishghimire862/node-setup.git

Purpose of .gitignore in Git
There are certain files that we don't want to push to the version control provider. An example of such files is the .env file, which stores sensitive information such as keys, tokens, secrets, and configuration. The .gitignore file is a special file used in Git to prevent tracking of files and directories listed within it.
node_modules/
.env
In our case, we'll create a .gitignore file and add .env and node_modules/ to it since we don't want these files to be tracked by version control.
Since this is a new repository, we first need to initialize an empty Git repository locally and add a remote connection to link it with the GitHub repository
git add .

git commit -m "chore: setup node project"

git push -u origin master
As shown above, we added the files to be committed using git add ., committed the changes with a description, and pushed the changes to the master branch.
Make sure not to run git add . if you don't want to stage all the changed files, as it adds all modified, new, and deleted files. In some cases, you may not want to push certain files. To be on the safe side, it's better to use git add <filename> to stage specific files.
Before running git add or git commit, it's better to run the git status command to view the list of changed, staged, and unstaged files
With this, we have come to the end of the blog. We now know how to set up a Node.js project and use version control to keep track of changes. You can find the source code of the project we created for this blog here.
GitHub Assistant Integration with Tool Calling
In this blog, we'll introduce Tool Calling, briefly discuss how it works, and work on integrating GitHub Assistant using NodeJS and Ollama.
Gemini Integration with Discord using OpenAI and Node.js
In this blog, we will explore the technical details of integrating an LLM with a Discord server, enabling the server to serve as a frontend for interacting with OpenAI-compatible models.